Beautiful, simple, customizable and easy to use progress HUD for iOS written in Swift.

- iOS 10.0+
- Xcode 10.2+
- Swift 5+
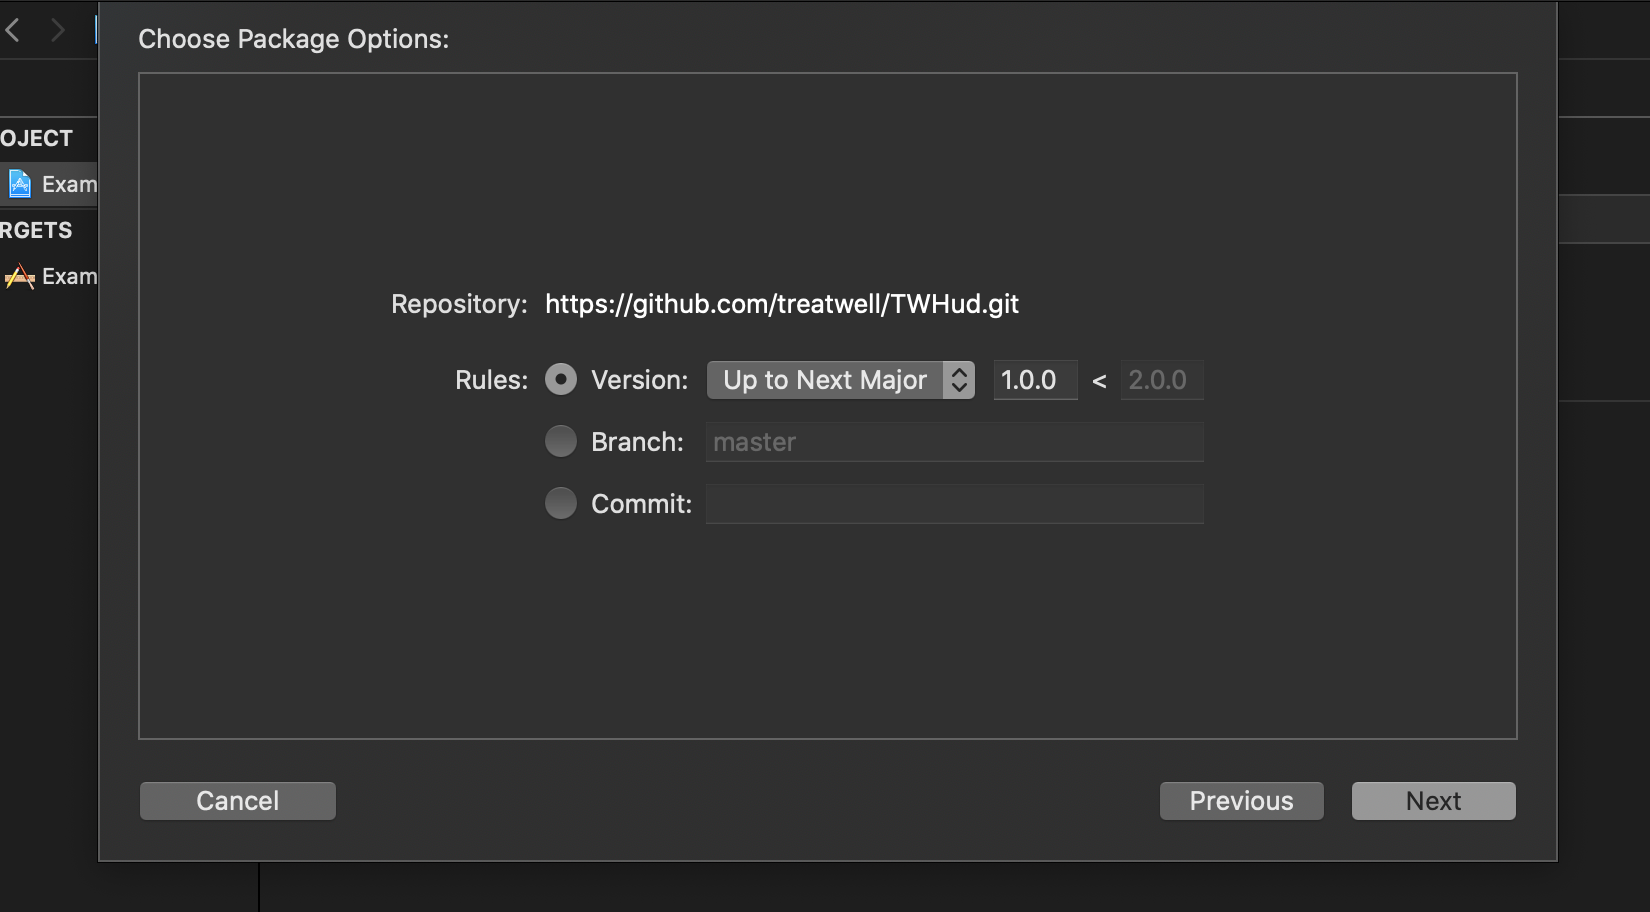
The Swift Package Manager is a tool for automating the distribution of Swift code and is integrated into the swift compiler. To add a package dependency to your Xcode project, select File > Swift Packages > Add Package Dependency and enter https://github.com/treatwell/TWHud.git.
Add the following entry to your Cartfile:
github "treatwell/TWHud"First, import TWHud
import TWHudThen, in your AppDelegate you have to configure TWHud. Required configuration parameters are maskImage - image used as a mask for HUD and colours - array of colours used for animation.
func application(_ application: UIApplication, didFinishLaunchingWithOptions launchOptions: [UIApplication.LaunchOptionsKey: Any]?) -> Bool {
   TWHud.configure(with:
      TWHud.Configuration(
         maskImage: UIImage(named: "LoaderLogoMask")!,
         colours: [.red, .green, .blue]
      )
   )
}
You can configure even more, e.g.:
func application(_ application: UIApplication, didFinishLaunchingWithOptions launchOptions: [UIApplication.LaunchOptionsKey: Any]?) -> Bool {
   TWHud.configure(with:
      TWHud.Configuration(
         maskImage: UIImage(named: "LoaderLogoMask")!,
         cornerRadius: 5.0,
         size: CGSize(width: 140, height: 140),
         fillUpRect: CGRect(x: 14, y: 29, width: 72, height: 42),
         fillUpTime: 0.6,
         waitTime: 0.2,
         hudBackgroundColour: .white,
         containerBackgroundColour: UIColor.black.withAlphaComponent(0.5),
         colours: [.red, .green, .blue]
      )
   )
}
After configuring your TWHud in AppDelegate, you can use it anywhere in you iOS app code
TWHud.show()This will create HUD over all your UI

Dismiss it using
TWHud.dismiss()If you don't need HUD over all your UI elementes, you can add it to your custom view
let hud = TWHud.showIn(
   view: container,
   configuration: TWHud.Configuration(
      maskImage: UIImage(named: "LoaderLogoMask64")!,
      hudBackgroundColour: UIColor.lightGray,
      containerBackgroundColour: UIColor.lightGray,
      colours: [.red, .green, .blue, .yellow]
   )
) 
Dismiss it using
hud.dismiss()If you need specify which colour should be used after current one, you can add your validator to AppDelegate, after your TWHud configuration.
TWHud.shared?.nextFillColourIndexIsValid = { next, previous in
   // Next colour is different than current
   var valid: Bool = next != previous
   if valid {
      if next == 0 {
         valid = next != 6
      } else if next == 6 {
         valid = next != 0
      } else if next == 3 {
         valid = next != 5
      } else if next == 5 {
         valid = next != 3
      }
   }

   return valid
}Marius Kažemėkaitis - marius@treatwell.com
The contents of this repository is licensed under the Apache License, version 2.0.