![]()
Prism is a Design System code generator developed by the team at Gett 🚕.
Synchronizing design teams with engineering teams is a huge challenge.
As teams scale, new growing pains start around how to properly align colors, text styles, spacing and other design details between teams, in a uniform way, from a single source of truth.
Prism was built to solve this very problem! It takes a Zeplin project or styleguide as input, and generates any output code you want from these based on a set of templates in your project, resulting in cross-platform code that is always synchronized from a single source-of-truth (Your project's Zeplin Styleguide or Project).
Prism is especially useful when used in your CI/CD process to remove the friction of design handoff and review, and making sure all of your teams are properly synchronized in regards to naming, values, and more.
There are four options to install prism:
- Install with Homebrew:
brew install GettEngineering/tap/prism - Install using Mint:
mint install GettEngineering/Prism - Build from source:
make install - Run directly with SPM:
swift run prism generate
To use Prism, you'll need to generate a Personal Access Token (JWT) to Zeplin's API by going to https://app.zeplin.io/profile/developer and click the Create new token button in the Personal access tokens section:

You'll need to expose this token to run the prism CLI tool. Make sure you have a ZEPLIN_TOKEN environment variable with your token configured.
When running prism in a CI environemnt, we recommend adding ZEPLIN_TOKEN as an Environment Secret.
When using prism locally or bootstrapping your project for the first time, you can simply run export ZEPLIN_TOKEN='zeplin_personal_token' before running prism locally.
Inside your project folder, run prism init.
It will guide you through selecting a Zeplin project or styleguide as source along with other useful information for proper code generation. Once prism init is successful, you'll find a new .prism folder with a config.yml file outlining your preferences.
Prism uses templates with the .prism suffix located in your project's .prism folder. These Prism templates are basically plain text files — Prism doesn't really care what format or language you use, it can make any kind of output as long as you can express it in a Prism template file.
Prism looks for something called Tokens inside your templates. These tokens follow the following format: {{%token%}}. You can find a couple of sample templates in the Examples folder.
Here are two short example of generating colors code for iOS and Android using Prism templates.
Colors.swift.prism:

colors.xml.prism:

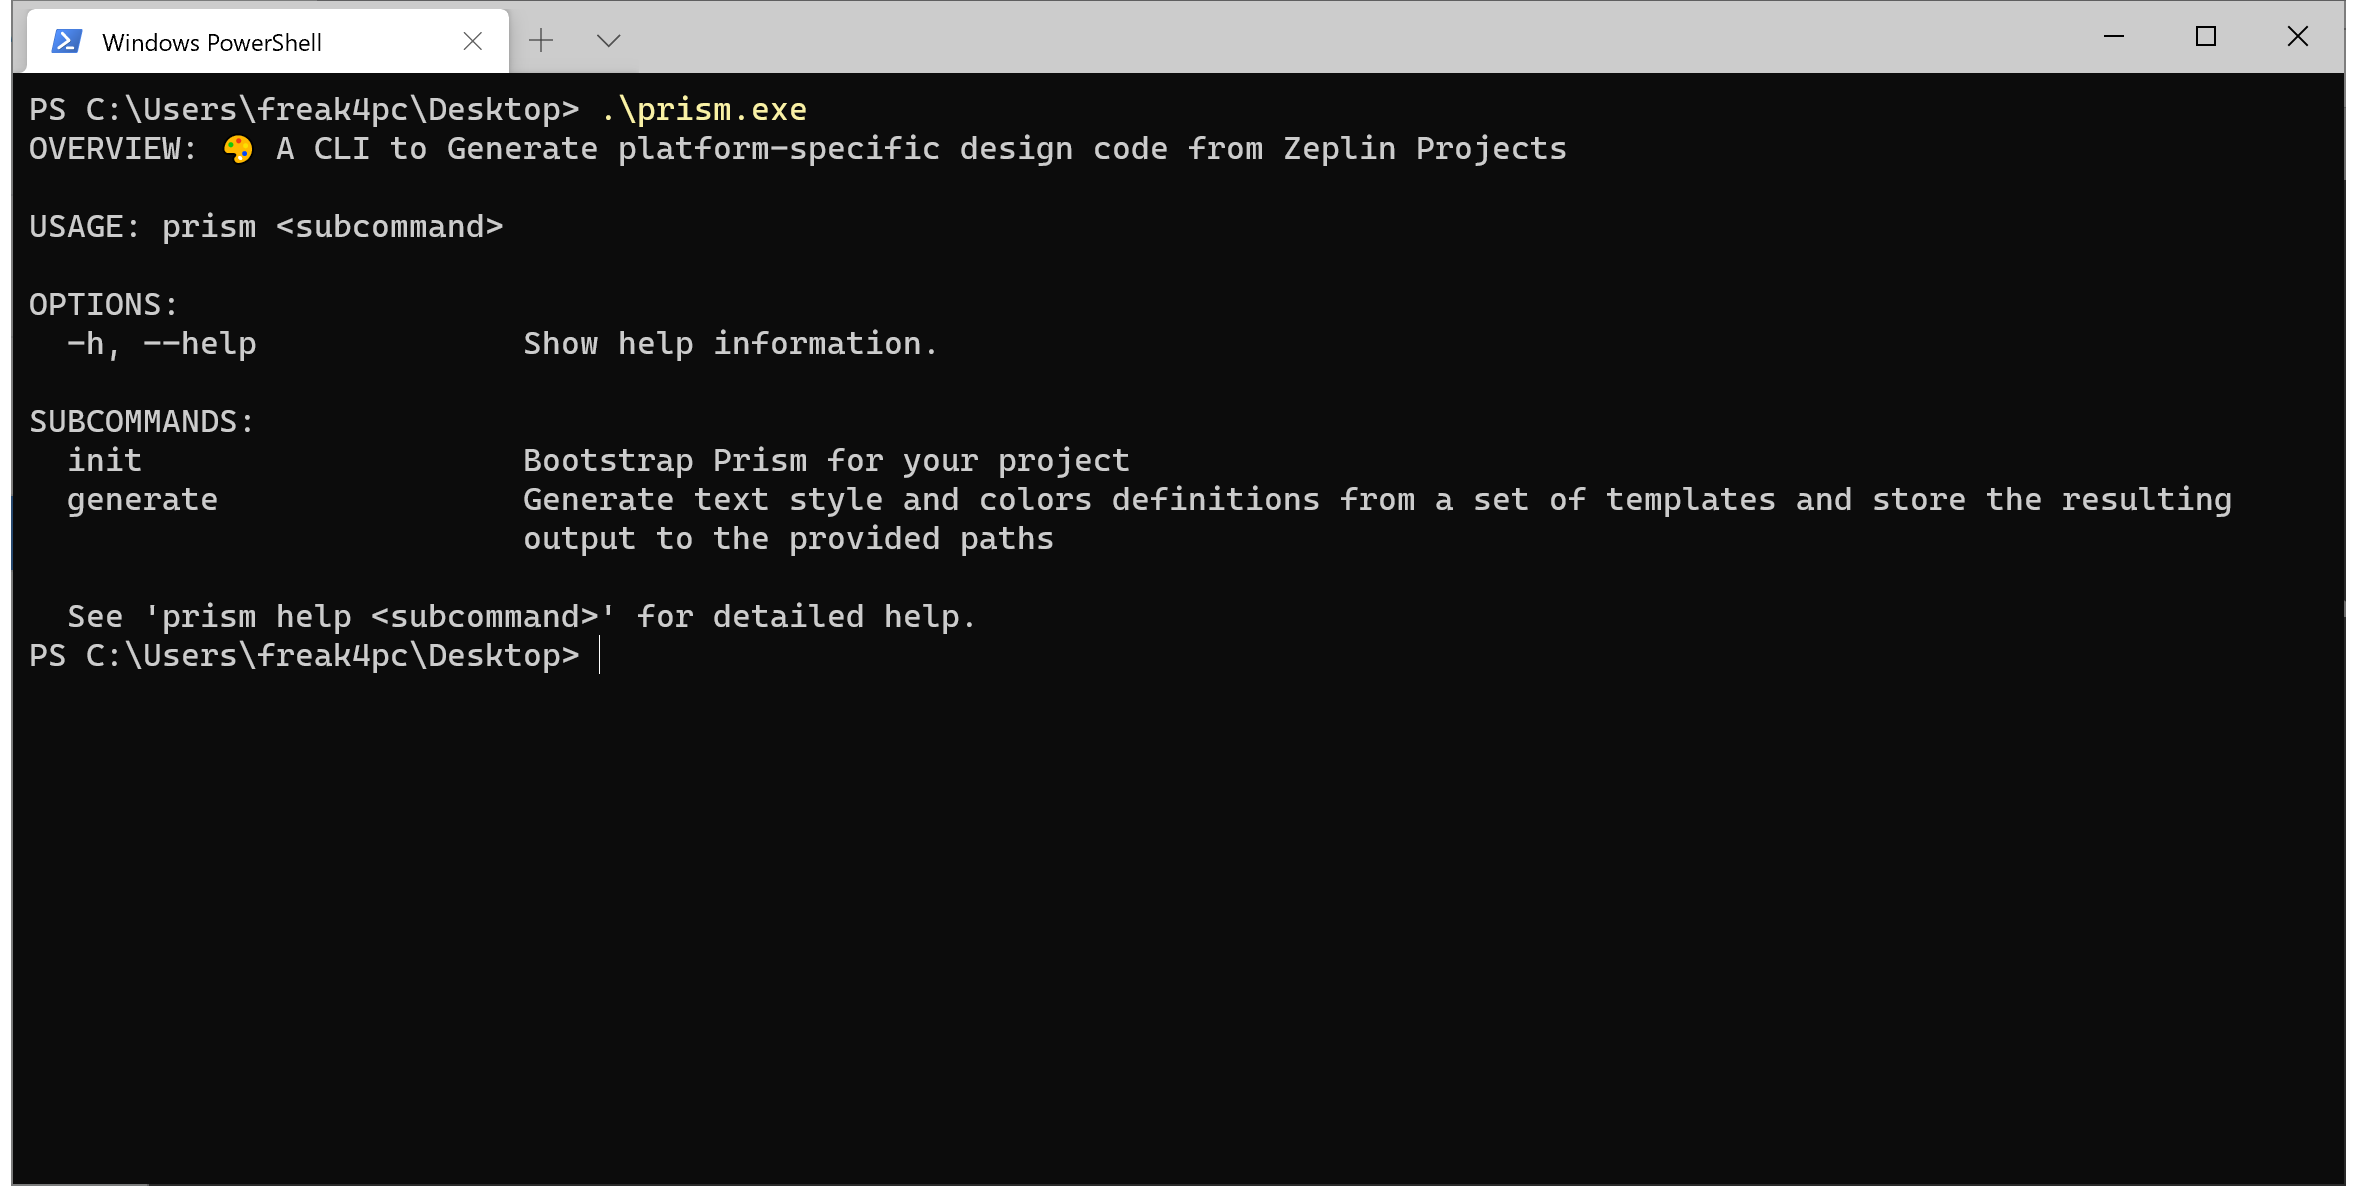
Due to the official release of Swift for Windows, an experimental build of prism is now available for Windows.
You'll need to install a few dependencies before running for the first time:
- Install the Microsoft Visual C++ Redistributable for Visual Studio 2019.
- Install the latest Swift Toolchain for Windows.
- Finally, get the prism.exe executable from the Releases page.
Note: Building from source is somewhat more involved. Let me know if you're interested in doing so and I'll do my best to assist.
- Run
makeormake installto build a release binary of theprismCLI tool and install it to /usr/local/bin. - Run
make buildto build a release binary of theprismCLI tool - Run
make projectto create an Xcode project and start working. - Run
make testto run all tests. - Run
make cleanto clear the generated Xcode project.